Today I'm going to be talking about my favorite hair coloring techniques! I'm super excited to share with you guys my passion for hair and the creativity that goes behind the chair (that rhymed).
So the first thing you need to know is that balayage is a french word for "sweep" or "to paint". It allows a sun-kissed, natural look or a bold, dramatic look. It will also help create a soft, less noticeable regrowth line.
I love using this technique because there are endless possibilities. With creativity, I'm able to achieve any look my client or I desire. I love how natural it can look or how bold it can be. I love recommending balayage to clients who want to keep their natural root but brighten up their ends. I also do root re-touches for my blondes. IF my client needs grey coverage, I will use foils because I feel more comfortable and safe when applying the paint in between the foils to cover the grey that the foil didn't get (this makes more sense if you talk hair). If you're looking to try something different, I would highly suggest talking with your stylist and getting their opinion to see what is best for your hair.
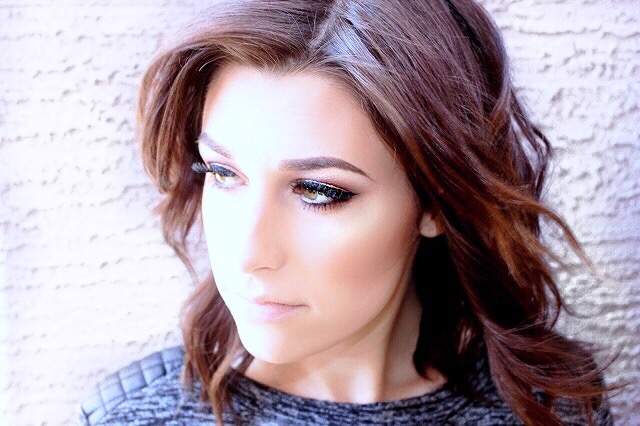
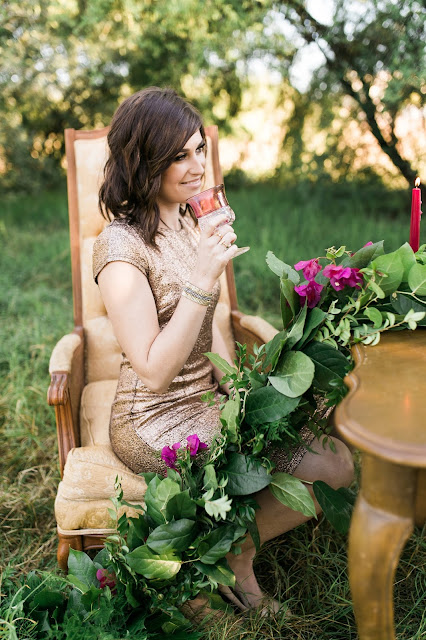
These 2 photos above aren't the best quality pictures, but it was all I had on my camera roll to show how I apply my balayage. Picture left, is a deep V. This will create a very deep root effect with tiny subtle highlights here and there. Picture right, is a deep V with a highlight going right down the center. This will create more baby lights and brightness on top. I'll even get more adventurous and add a highlight on each side of the middle highlight (: I absolutely love alternating both techniques in 1 color.
This first picture is an example of alternating the two different techniques.
This is an example of doing the deep V technique. Keeping her roots very dark, yet dimensional.
Same with this client. Deep roots, but dimensional on bottom.
This is an example of painting multiple highlights. this technique replaces foils, but also keeps her natural base for dimension.
This is an example of saturating most of the ends while painting highlights to help soften. This is good for someone who doesn't want to deal with the upkeep it takes to be blonde.
This is more of an ombre look but was done using all different highs and lows up painting. This is an example of bold balayage.
This is an example of low maintenance balayage. A sun-kissed effect with brighter blondes here and there.
This client was tired of being platinum and all the up keep that goes with it. So we brought down her natural base and kept some highlights so she wouldn't feel too dark.
This is what we call "bronde" hair color. It's in between blonde and brown and is very natural.
This was a root re-touch using the painting technique.
This one as well. The grow out is extremely soft and very natural.
This is an example of sun-kissed balayage. She's very dimensional, yet her highlights are very close to her matching color.
This is another example of sun-kissed balayage except a warmer version. Notice how her roots are deep and the highlights don't go all the way up.
This is a baby-lights technique. I weaved out multiple hairs and painted them with lightener.
Very bold, heavy balayage. I did this just so her purple color would POP!
One of my favs. Deep roots for depth and dimensional balayage.
Heavy balayage all over. She's currently in the process of going white with her natural base!
Heavy, thick balayage keeping her natural base.
Sorry for all the pictures! I just wanted you all to see the many different outcomes of using balayage.
You can also visit my Instagram @jillenefarrbeauty where I talk about formulas to achieve certain colors and all different kinds of hair goodness! (:
I hope some of you get inspired to try something new! Please tag us if you did (@puckerupstyle), we would love to see how it turns out! Thanks for reading!
xoxo


